Metaframes photography guide
How to add camera settings to film scans on Android
Film scans normally arrive without the camera settings that explain how they were made. On Android, you can turn the information you recorded while shooting into a clean metadata frame, keeping the scan and its technical context together without changing the original file.
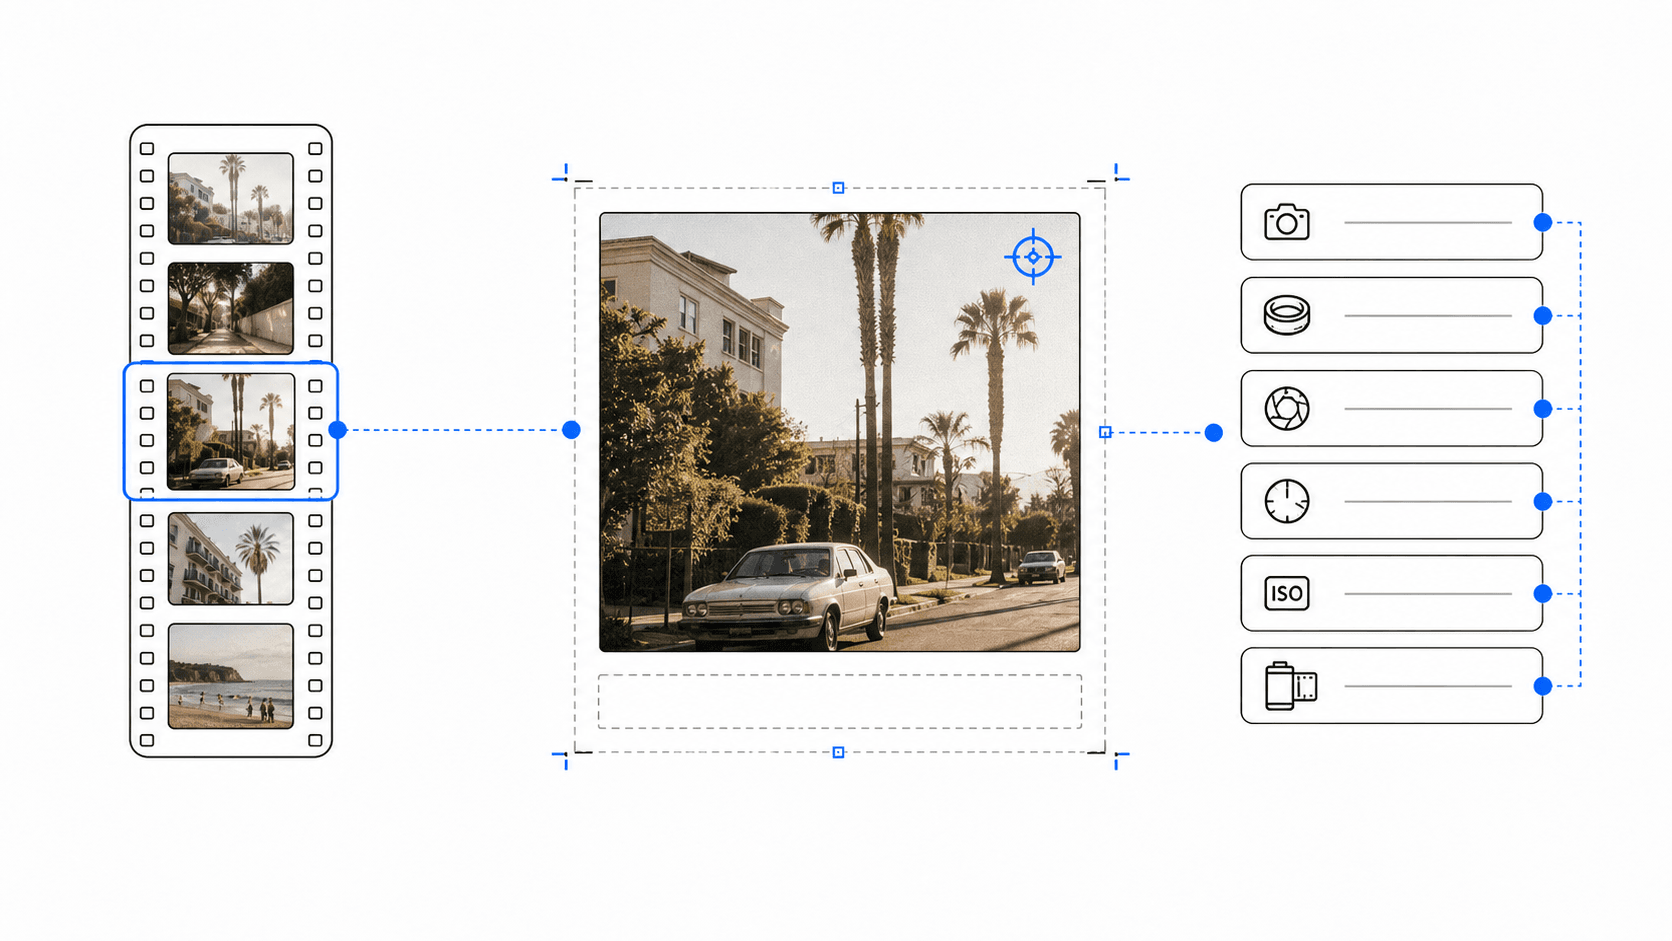
Why film scans need a manual metadata workflow
A lab scan is an image file, not a record of the exposure that created it. Camera body, lens, aperture, shutter speed, and ISO are usually absent because they were never written into the negative in the first place.
That does not make the information less useful. A small set of accurate settings helps you revisit a successful frame, explain an image to other photographers, and maintain a consistent visual record across a film project.
1. Gather only the facts you can verify
Use notes from the roll, a camera log, a notebook, a light-meter app, or the negative sleeve. Start with the values that are easiest to trust: camera, lens, aperture, shutter speed, ISO, date, and time when you recorded it.
Do not guess an exact value just to complete every field. If an exposure is uncertain, hide it or use the information you can confirm. A shorter frame with reliable details is more valuable than a complete-looking one that is wrong.
2. Start from the best finished scan
Choose the full-resolution scan or your final edited version, not a screenshot or a photo downloaded from social media. This keeps the photograph sharp and gives the frame enough resolution for a portfolio, carousel, or print reference.
Finish dust cleanup, crop, color work, and tonal corrections before building the frame. The metadata layout should be the final presentation step, so later edits do not compromise the spacing or readability of the export.
3. Enter camera settings manually in Metaframes
Import the scan into Metaframes on Android. Because a film scan often has no usable capture metadata, review the fields and enter the camera, lens, aperture, shutter speed, ISO, date, and time you recorded for the image.
Keep the notation consistent from one frame to the next. For example, use one format for aperture and shutter speed across a whole series. The goal is not to recreate a technical data sheet; it is to make the photograph easier to understand at a glance.
4. Separate film notes from the essential frame
Film stock, developer, lab, and push or pull processing can be valuable context, but they do not need to crowd every public export. Keep detailed roll notes in your archive, caption, or project notes when the frame itself is already carrying the essential camera and exposure information.
If a particular detail is central to the work, make it part of a repeatable naming or caption convention. That preserves the story of the film without reducing the photograph to a list of settings.
5. Choose a frame that respects the scan
A quiet light frame suits soft color, portraits, and an editorial portfolio. A dark frame can support high-contrast monochrome, night work, and images with a more cinematic character. Leave enough border around the scan for the metadata to breathe.
For a busy composition, place information beneath or beside the photograph instead of over it. The scan should remain the first thing a viewer sees; the settings should be easy to find without becoming the subject.
6. Export a shareable version and preserve the source
Export JPG when you need a compact file for social sharing, and PNG when you want a clean presentation master. Open the finished image at phone size and at full size to check that the metadata remains legible and the border has not changed the intended crop.
Keep the original scan, your edited scan, and the framed export as separate files. This gives you the freedom to use the photograph in a different layout later while retaining a dependable visual record of the settings behind it.