Metaframes photography guide
How to share camera settings on Instagram
A simple way to share camera settings on Instagram is to place a short, readable set of metadata in a frame around the finished photograph. The settings stay connected to the image, while the caption remains free for the story behind it.
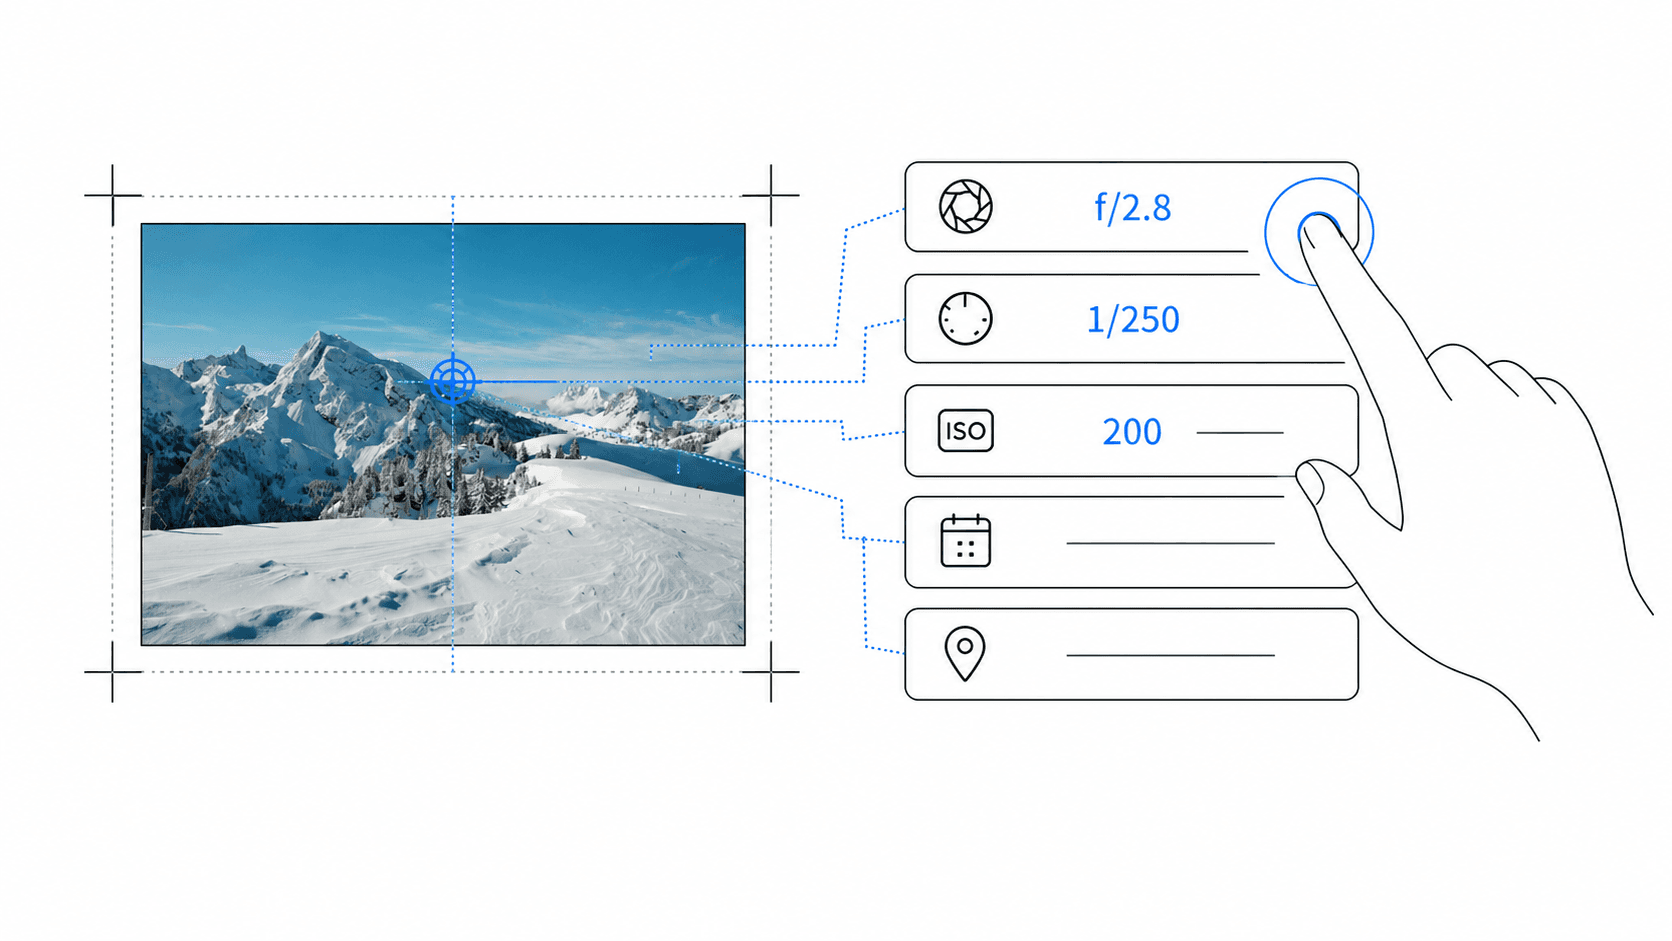
Which camera settings should you share?
Start with the information that explains the exposure: camera, lens or focal length, aperture, shutter speed, and ISO. These fields answer the questions photographers most often have when they see an image they want to understand.
You rarely need every available EXIF field. White balance, software version, exact capture time, and file details usually add clutter without improving the story behind the photograph.
Use an EXIF frame instead of text over the photograph
Text placed directly over a busy image can cover important details and become difficult to read in the Instagram feed. A dedicated border or metadata rail gives the settings their own space and keeps the composition intact.
Choose a light frame for an editorial or gallery-like presentation. Dark frames suit night photography, architecture, monochrome work, and images with strong contrast. The frame should support the photograph rather than become the subject.
Prepare the photograph before adding metadata
Finish colour correction, cropping, sharpening, and retouching first. The EXIF frame should be the final presentation step so that typography and spacing are not changed by another edit afterwards.
Work from the original edited export rather than an image downloaded from Instagram or sent through a messenger. Social and messaging platforms often remove the EXIF data that a frame app needs to detect the settings automatically.
Choose an Instagram-friendly layout
Instagram accepts photos from 1.91:1 landscape to 3:4 portrait. A 4:5 frame remains a practical portrait choice when it suits the photograph, while a square format is easy to repeat across a grid-based series.
Instagram displays photos at up to 1080 pixels wide, so very small metadata can lose clarity after resizing. Leave enough breathing room and check the final export at phone size before posting.
Add and review the settings in Metaframes
Import the finished photo into Metaframes on Android. The app reads the available camera and lens metadata locally, then lets you correct missing values and decide which fields should appear in the frame.
Keep names concise. A shorter lens label and consistently formatted values such as f/2.8, 1/250s, and ISO 400 are easier to scan than raw technical strings copied directly from a file.
Export for a post, carousel, or photography series
Use JPG for a compact Instagram-ready export. PNG can be useful when you want a clean master of the framed presentation before making a separate social version.
For a carousel, use the same frame, metadata order, and spacing on every slide. A consistent system makes a project look intentional and lets viewers compare focal lengths or exposure choices across the series.
Frame or caption: where should the settings go?
Put the essential settings in the frame when they are part of the visual presentation. Use the caption for the story: location at an appropriate level, lighting conditions, creative intention, editing decisions, or what you learned while making the photograph.
This division keeps the image useful when it is saved or shared without the original caption. It also prevents the caption from beginning with a block of technical data before the viewer reaches the story.
A final checklist before posting
Confirm that camera and lens names are correct, exposure values use consistent notation, the text remains readable on a phone, and no field covers or competes with the photograph.
Review dates, exact times, and location details before sharing. Then open the exported file once at full size and once at feed size. If the image leads and the settings are easy to find, the frame is ready to publish.