Metaframes photography guide
How to add camera settings to photos on Android
You can add camera settings to a photo on Android by importing the finished image into an EXIF frame app, reviewing the detected metadata, choosing which fields to show, and exporting a new JPG or PNG.
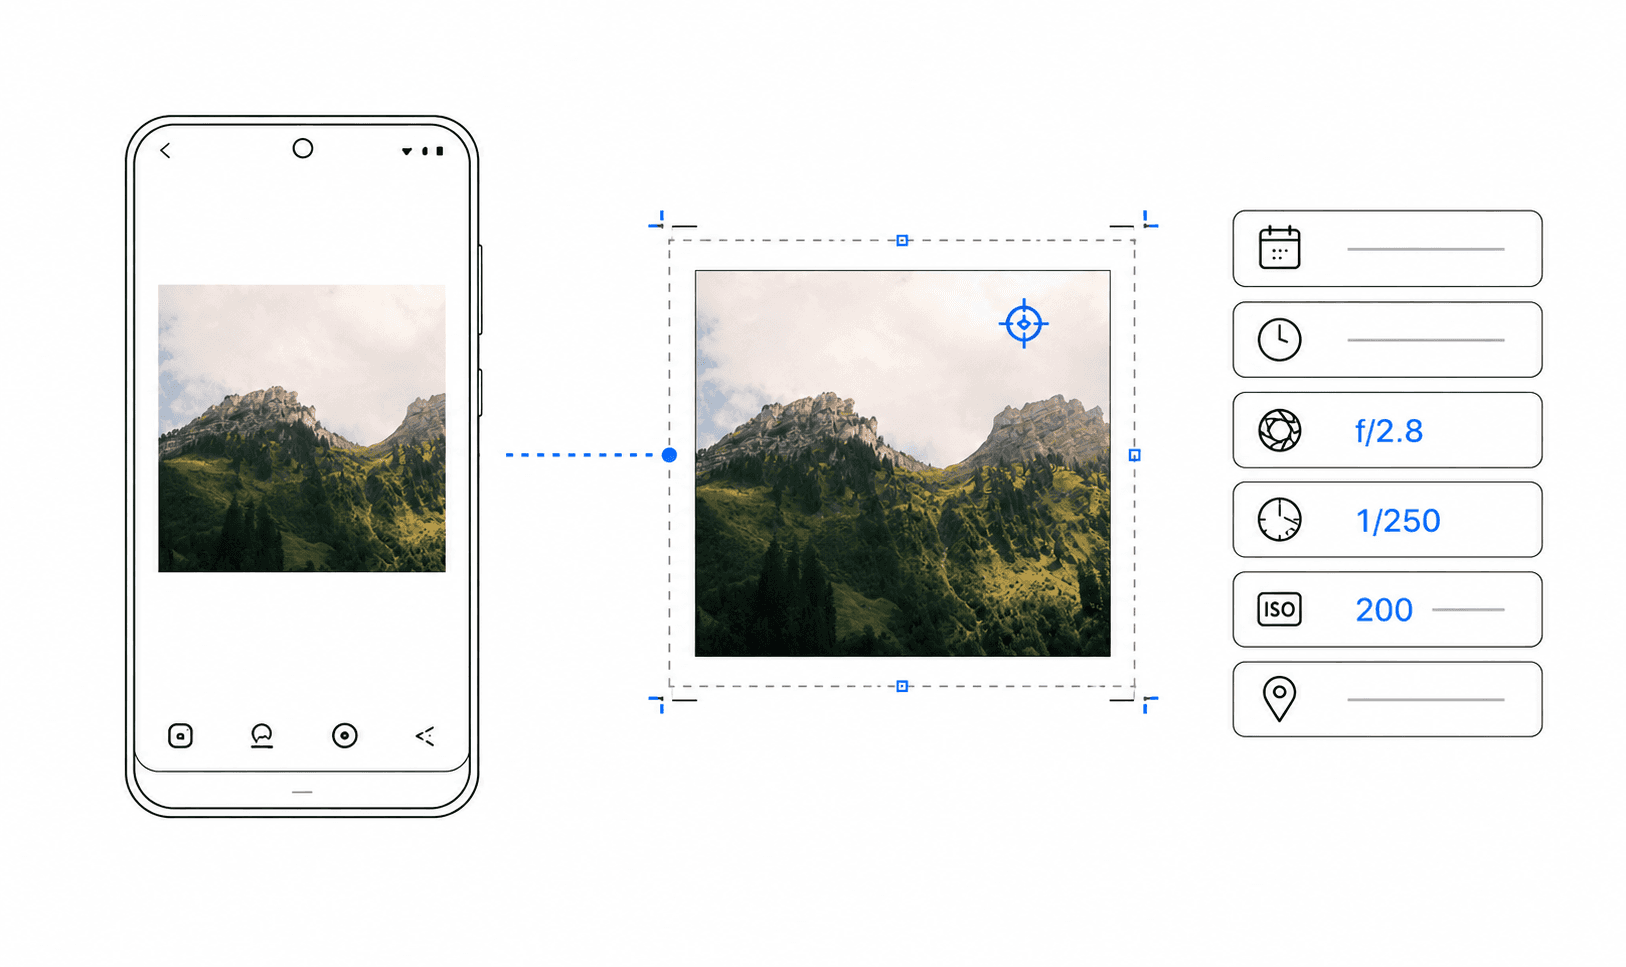
Which camera settings can you add to a photo?
The most useful fields are the camera body, lens, focal length, aperture, shutter speed, and ISO. Together they explain how a photograph was made without turning the frame into a technical report. A capture date can add context, but it is optional for public posts.
Most cameras and phones save these values as EXIF metadata inside the image file. A photo metadata app reads the available fields and turns selected values into a visible frame around the image.
1. Start with the finished photo
Complete cropping, colour correction, and retouching before adding the frame. Framing should be the final presentation step, because resizing the framed export afterwards can soften text and change the intended spacing.
Use the highest-quality finished JPG available. Some editing tools and messaging apps remove EXIF data during export. If that happens, known values can be entered manually.
2. Import the image and review its EXIF data
Open the finished image in Metaframes. The app reads the metadata that is still embedded in the file and prepares the supported camera fields locally on the Android device.
Check the detected camera, lens, date, aperture, shutter speed, ISO, and focal length. Third-party lenses and edited exports sometimes produce long or incomplete labels that benefit from cleanup.
3. Fix missing information and choose visible fields
Add or correct a missing value when you know it, or hide the field when it adds no value. A shorter, accurate set of camera settings is more useful than a crowded frame with questionable data.
For most posts, camera, lens, aperture, shutter speed, and ISO are enough. Review dates, exact times, and location-related information more carefully before sharing work from a home, client site, or sensitive location.
4. Choose a frame that supports the image
Use a light frame for a clean portfolio or editorial look. A dark frame can work well with night photography, architecture, monochrome images, and scenes with strong contrast.
A separate metadata rail is usually easier to read on busy photographs, while an overlay works best when the composition contains quiet negative space.
5. Export and check the final result
Export as JPG for a compact file that is easy to share. Choose PNG when you want a clean presentation file. Metaframes creates the finished frame on the device, ready for portfolios, social posts, galleries, or client previews.
Open the export at full size and check spelling, symbols such as f/2.8 and 1/250s, text contrast, and the final crop. Keep the original photo separate from the framed export.
Why camera metadata sometimes disappears
Social networks, messengers, screenshot workflows, and some photo editors can strip metadata. A downloaded social-media image may not contain the settings that were present in the original camera file.
Create the frame from the original edited export whenever possible. If fields are missing, compare them with the source file or editing catalogue and enter only values you can verify.